Programming Jewelry Explained
You don’t start from scratch,
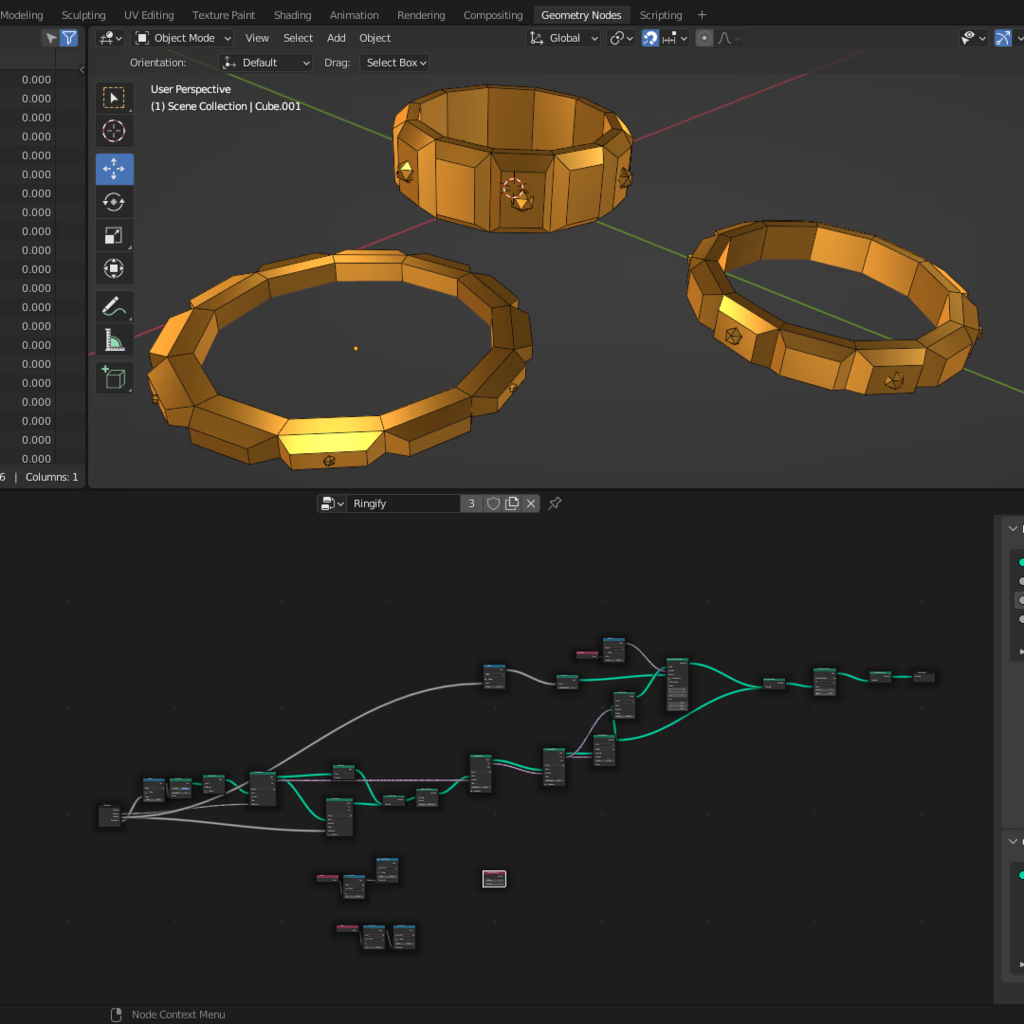
you start by making a circle the size of the ring.
And that becomes the foundation,
on top of which you attach all the decorations.
It is like a rail,
onto which you slide ring bits.
The way you start programming,
on top of a circle in Blender.
Is by applying a modifier to your shape,
modifiers are very commonly used for many things.
I always use the Boolean Modifier,
to create hard surface objects like wallets.
But the Geometry Nodes Modifier is special,
it is like a blank modifier that is yet to be programmed.
And in order to accomplish this,
it has a unique visual programming language.
Watch several random tutorials on any Geometry Nodes topic
and take plenty of notes, it gets easier after a bit.
The input the blank modifier receives,
is the geometry of the simple ring circle, or any object.
It is those X,Y,Z coordinates that will flow through your program,
under the control of the visual programming nodes designed to control them.
You may subdivide shapes,
or apply other shapes on top of them relative to their length.
As to classical jewelry, know that a diamond or a stone,
is cut to a standard shape so that it can fit a standard seat.
You should replicate the shape of whatever you will set,
as use it as a model, to create the seat.
The seats that hold the stones, will need a rail,
to create a strong structure that wont bend or break.
So when making a basic ring,
you have to focus on the rock seats, and the rails that make the ring sturdy.
This is what you wrap around your basic ring shape,
the seats and rails.
Now this describes just one kind of ring,
and you should use more than a circle, put an arc on top of the ring for one.
Just to summarize, you start with a simplified shape, just a circle,
and then you apply components of the ring around it.
If all you have is a plastic 3D printer,
scale up your creating a bit and print out larger prototypes.
But, once you make your first jewelry piece,
you’ll know exactly where to go next.
Links
- blank modifier that is yet to be programmed https://www.youtube.com/watch?v=SZ1X0ADyONE
- Watch several random tutorials on any Geometry Nodes topic https://www.youtube.com/results?search_query=Geometry+Nodes+Modifier
- or apply other shapes on top of them relative to their length https://www.youtube.com/watch?v=Ai3FLHS7c2k
- making a basic ring https://youtu.be/CWoCd-WhIsw?t=31